Page Builder: Widgets
Table of Contents:
- Widgets Overview
- How to Add a Widget
- How to Configure an Image Widget
- How to Use the Rich Text Widget / Editor
- How to Configure a Hero Section Widget
- How to Configure a Panel Widget
- How to Configure a Video Widget
- How to Configure a Stat Card Widget
- How to Configure a Banner Widget
- How to Configure a Card Widget
- How to Configure a Testimonials Section
Widgets Overview
After you added sections to your page, you need to add widgets to those sections.
Widgets are different components that have specific functionalities.
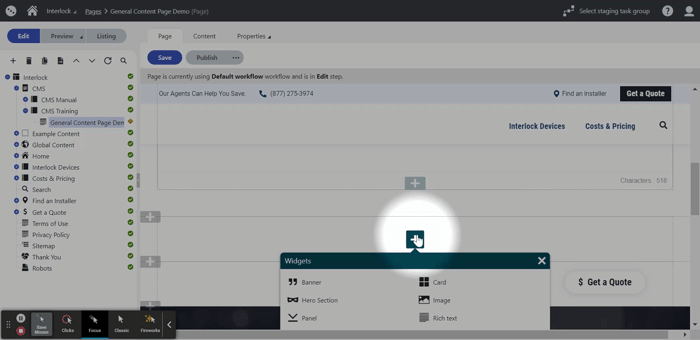
Rise created a pre-built library of widgets for you to use:
- Image
- Rich Text
- Hero Section
- Block Quote
- Panel
- Video
- Stat Card
- Card
- Testimonials
The next sections of the document will explain each widget in detail and how to use them.
How to Add a Widget
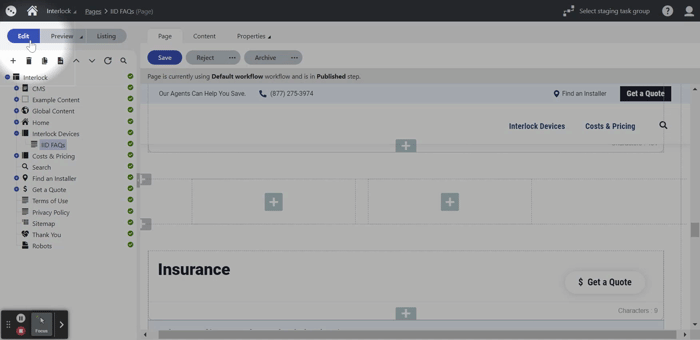
- From the Applications menu, navigate to the Pages interface under Content Management
- Click on the Edit button or make sure it is selected
- Find and select any page from the tree where page builder functionality is enabled
- Click on the Page tab or make sure it is selected
- Scroll down and find the section to place the widget
- Click on the + button
- Find the widget of your preference and click on it (e.g. Image)
- Click on the Save button
How to Configure an Image Widget
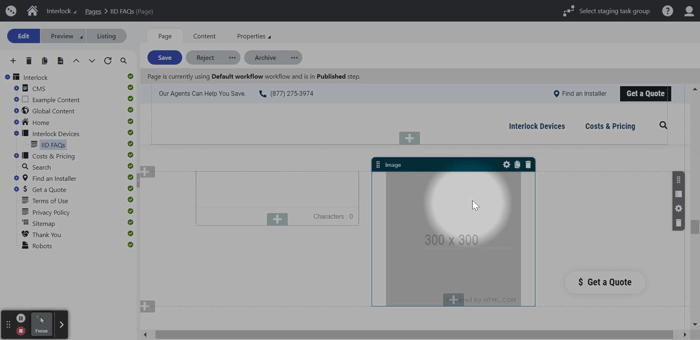
Precondition: The user has previously added the Image widget to the section.
- Click on the Configure Widget icon
- Fill out the fields
- Click on the Apply button
- Click on the Save button
How to Use the Rich Text Widget / Editor
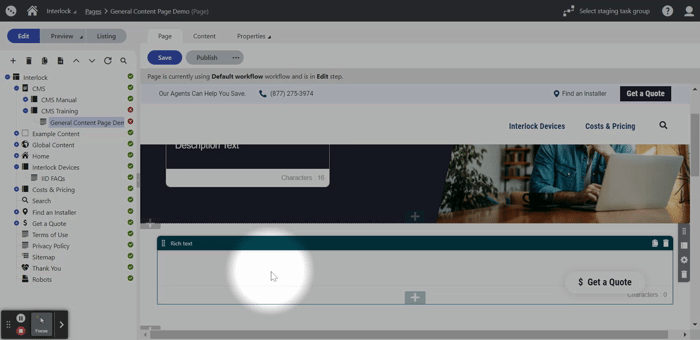
Precondition: The user has previously added the Rich Text widget to the section.
- Click in the center of the widget to display text editor options
- Enter the text and/or images
- Highlight text and select from the formatting options to adjust the appearance.
- Click on the Save button
How to Configure a Hero Section
Preconditions:
- The user has previously added the Hero Section widget
- The widget must be placed on top of the Page Builder sections
- All the Headline field in the Content tab must be empty
Notes:
- The Hero Section widget should always use Standard Section as the section type
- The Hero Section widget should go full width across the page to keep design consistent on the site. See more details on How to Configure Section Properties
- Click on the Configure Widget icon
- Fill out the fields
- Click on the Apply button
- Click on the Save button
How to Configure a Panel Widget
Precondition: The user has previously added the Panel widget to the section.
- Click on the Configure Widget icon
- Fill out the fields
- Click on the Apply button
- Click on the panel to update the content using the WYSIWYG
- Click on the Save button
How to Configure a Video Widget
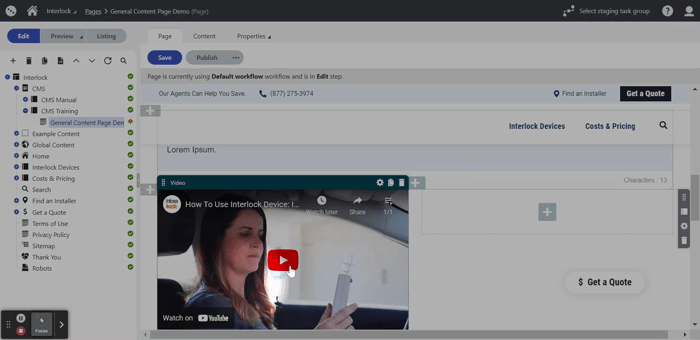
Precondition: The user has previously added the Video widget to the section.
- Click on the Configure Widget icon
- Fill out the fields
- Click on the Apply button
- Click on the Save button
How to Configure a Stat Card Widget
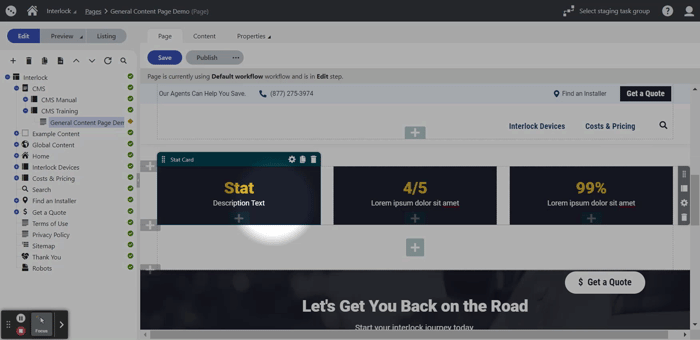
Precondition: The user has previously added the Stat Card widget to the section.
- Click on the Configure Widget icon
- Add an image and headline in the fields
- Click on the Apply button
- Click on the Save button
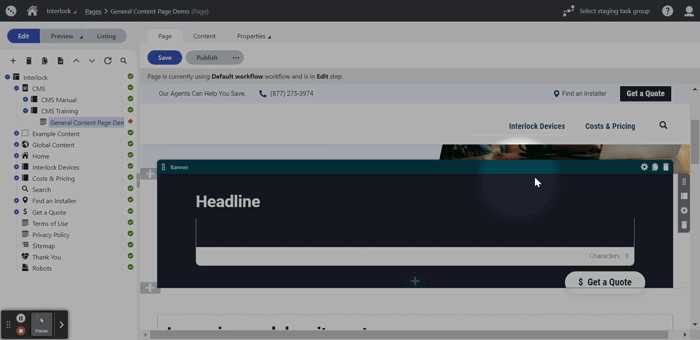
Precondition: The user has previously added the Banner widget to the section.
- Click on the Configure Widget icon
- Add an image and headline in the fields
- Click on the Apply button
- Click on the Save button
How to Configure a Card Widget
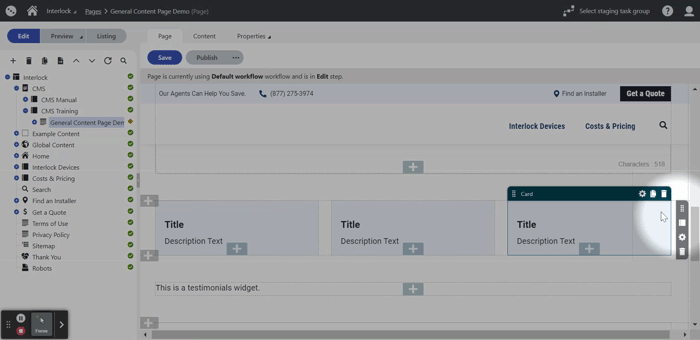
Precondition: The user has previously added the Card widget to the section.
- Click on the Configure Widget icon
- Fill out the fields
- Click on the Apply button
- Click on the Save button
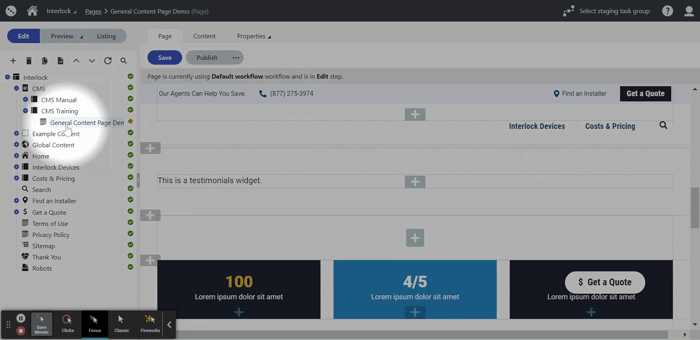
How to Create and Configure a Testimonials Section
Note: The individual testimonials that will appear in a Testimonials section are housed in a separate folder in the content tree. The testimonials must be created before a Testimonials section can work.
Precondition: The user has previously added the Card widget to the section.
Part 1: Create New Testimonials
- Find the position on the tree and select your new General Content page as the parent
- Click on the + icon
- Find the page type of your preference and click on it
- Select Testimonials Folder
- Give the folder a name and click Save
- With this folder selected in the content tree, click on the + icon
- Select Testimonial
- Fill out the fields
- Click on the Save button
- Click on the Publish button
- Repeat steps 7-10 to add more testimonials
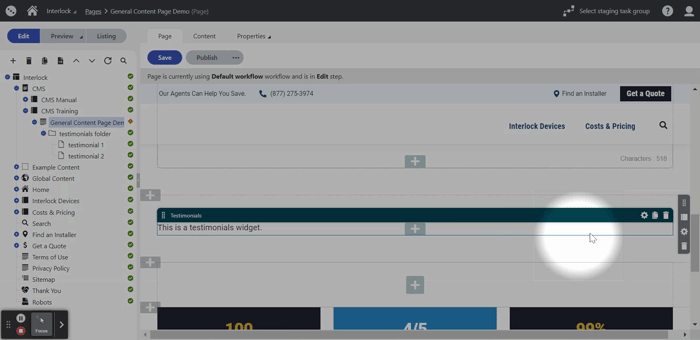
Part 2: Configure the Testimonials Section
- Navigate back to the general content page the testimonials will be displayed on
- Click on the Configure Widget icon on the Testimonials section
- Select the testimonials folder in the content tree
- Click on the Apply button
- Click on the Save button